Employee Getting Started
As an employee, using Virtual Time+Expense is a straight
forward and simple process. The sections below give you the details to be
able to get started right away. Note that there are two types of time entry.
Weekly Time Entry Users:
Daily Time Entry Users:
All Users:
 |
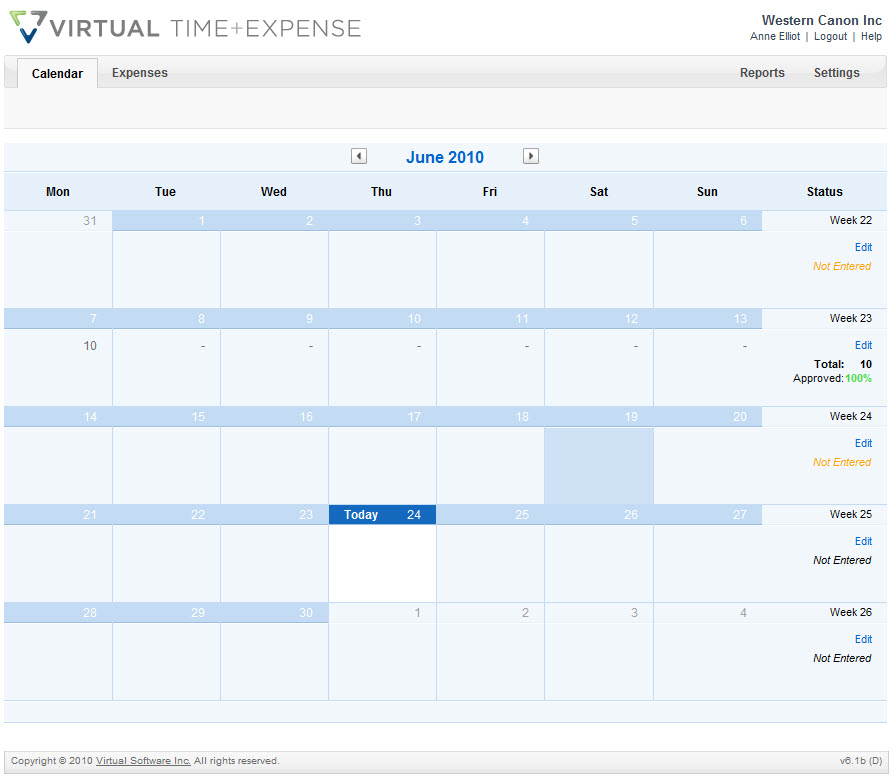
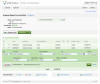
- Click on Calendar in the area bar.
This will show you a month-at-a-glance view of all your time.
- Click on the week you want to enter
time for. This will take you to the timecard entry and edit screen.
- Each row of a timecard can have as much or as little
information as you want, and you can create as many lines as you need.
For instance, you can have one row per day, or combine an entire week on
one row. If you need more rows, click the Save and Continue
button and more will be added for you.
- For each row that you want to add, select a project, enter your
hours worked, and if needed enter a description of
work performed as applicable.
- When you have entered your time, you can choose to save it
as unsubmitted (hidden from the approver) or save and submit it for
approval. You may want to leave it unsubmitted until you have
filled in the entire timecard.
- To save time without submitting it, make sure each row's Submit
checkbox is unchecked (the first column) and click the Save button, or
click Unsubmit All Time.
- To submit time for approval, check the Submit checkbox (the first
column) for each row that is ready for approval and click the Save button,
or click on the Submit All Time link.
Note that this timecard time can continue to be modified until it is approved - after
that it will be read-only.
- After saving, you will be returned to the Calendar area. The status of each
timecard will be shown in the right most Status column of the
calendar (unapproved, rejected, or approved).
|
 |
|
 |
- Click on Calendar in the area bar.
This will show you a month-at-a-glance view of all your time.
- Click on the day you want to enter
time for. This will take you to the timecard entry and edit screen.
- Simply enter your time in for the day, your time
out and the break as necessary. It's important to
remember that you can either enter your break time as it would look on a
clock ( :30 for 30 minutes) or in a decimal format ( .5 for 30 minutes).
Additionally, you can create as many entries as you need for
the day.
- For entry you wish to create, select a project, enter your
hours worked and if needed enter a description of work performed as
applicable.
- When you have entered your time, you can choose to save it
as unsubmitted (hidden from the approver) or save and submit it for
approval. You may want to leave it unsubmitted until you have
filled in the entire timecard.
- To save time without submitting it, make sure each row's Submit
checkbox is unchecked (the first column) and click the Save button, or
click Unsubmit All Time.
- To submit time for approval, check the Submit checkbox (the first
column) for each row that is ready for approval and click the Save button,
or click on the Submit All Time link.
Note that this timecard time can continue to be modified until it is approved - after
that it will be read-only.
- After saving, you will be returned to the Calendar area. The status of each
timecard will be shown in the right most Status column of the
calendar (unapproved, rejected, or approved).
|
|
|
 |
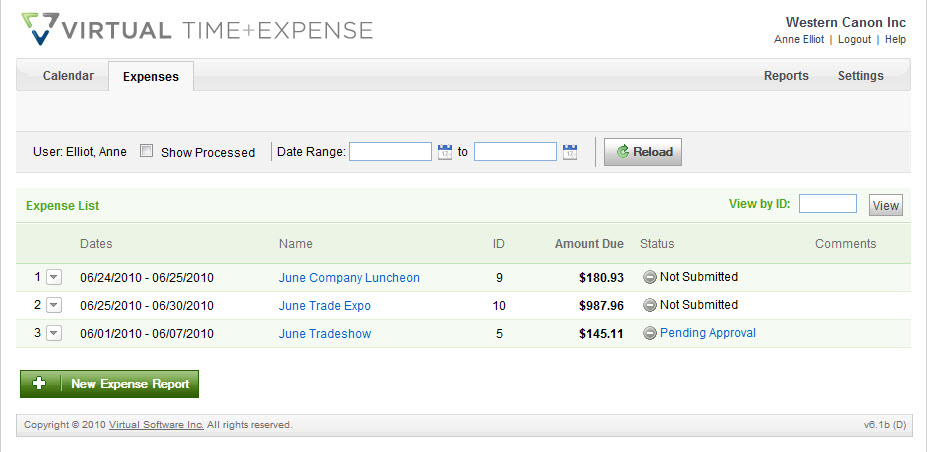
- Click on Expenses in the
navigation bar.
This will show you your current list of expense reports.
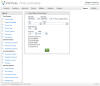
- Click on the New Expense Report button to create a new expense
report.
- Enter an expense report title and the date range for the expenses.
Expense reports can contain any grouping of expense details you need (monthly,
per trip, or as dictated by your company).
- Click the Save button to start entering expense details.
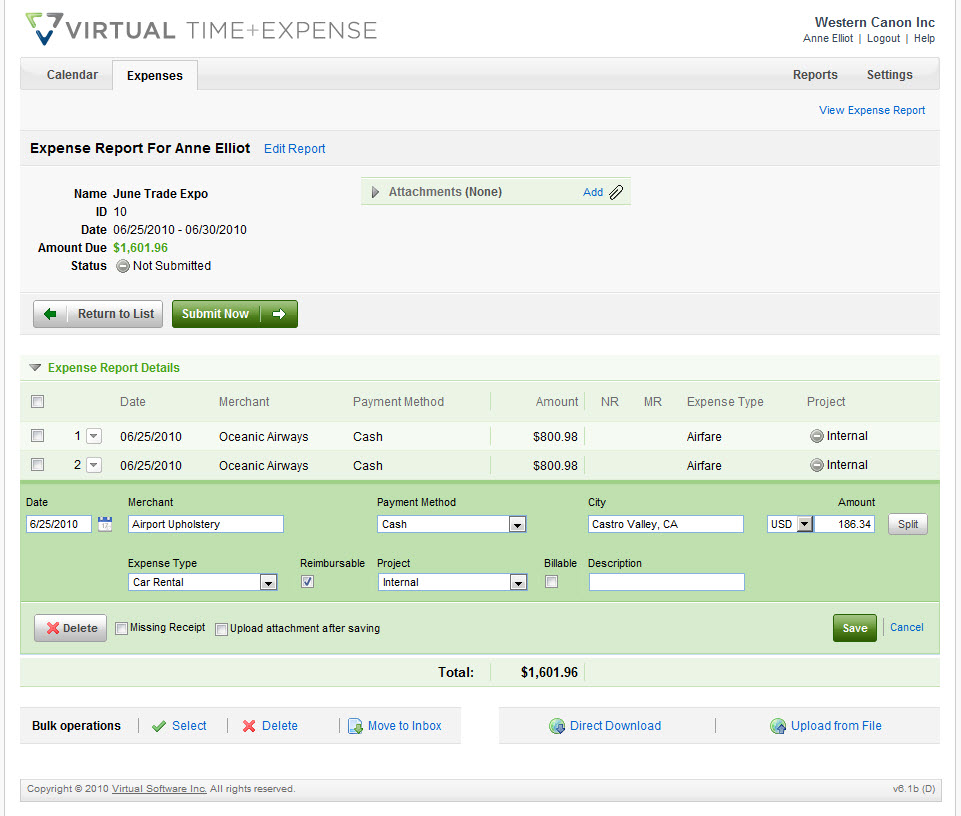
- You are now shown the expense report
editing screen. Because this is a new expense report, an
initial new
detail will be created for you.
- For each expense detail, you must at least enter a date, expense
type, and amount. Fill out the other information as required by your company. Click the Save button to add this
expense to the report.
- Repeat this process for as many expense details as you need.
- Like time, you can keep your expense reports unsubmitted (hidden
from the approver) until you
are ready to have it approved. To save the expense report without
submitting it, click the Return to List link. To submit the
expense report for approval, click the Submit Now link. Expenses
can continue to be modified until it is actually approved - after that
it will be read-only.
- After saving the expense report, you will be returned to the expense list.
This list is where you can check the status
of all your current unprocessed expense reports. To see expense
reports that have already been processed, click the Show Processed checkbox,
enter a date range, and click the Reload button.
- You can edit any expense report from this list by clicking on the
report name.
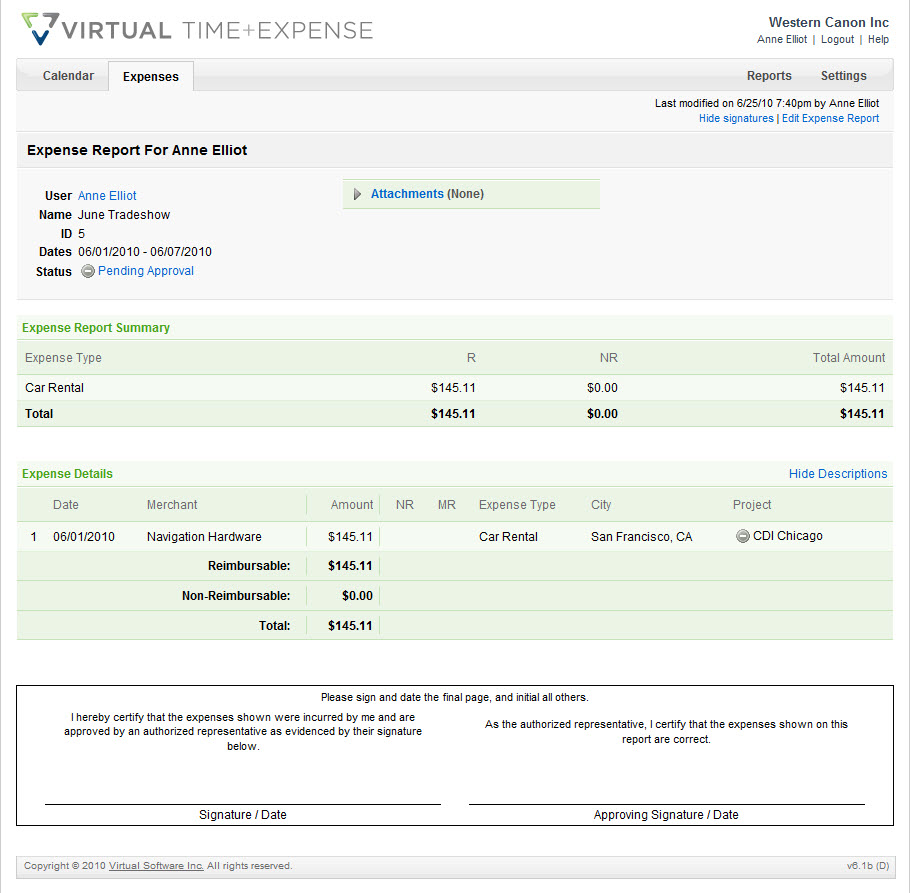
- You can see a printable view of any expense report by clicking on
the Printable Version link while editing it.
|
 |
 |
 |
 |
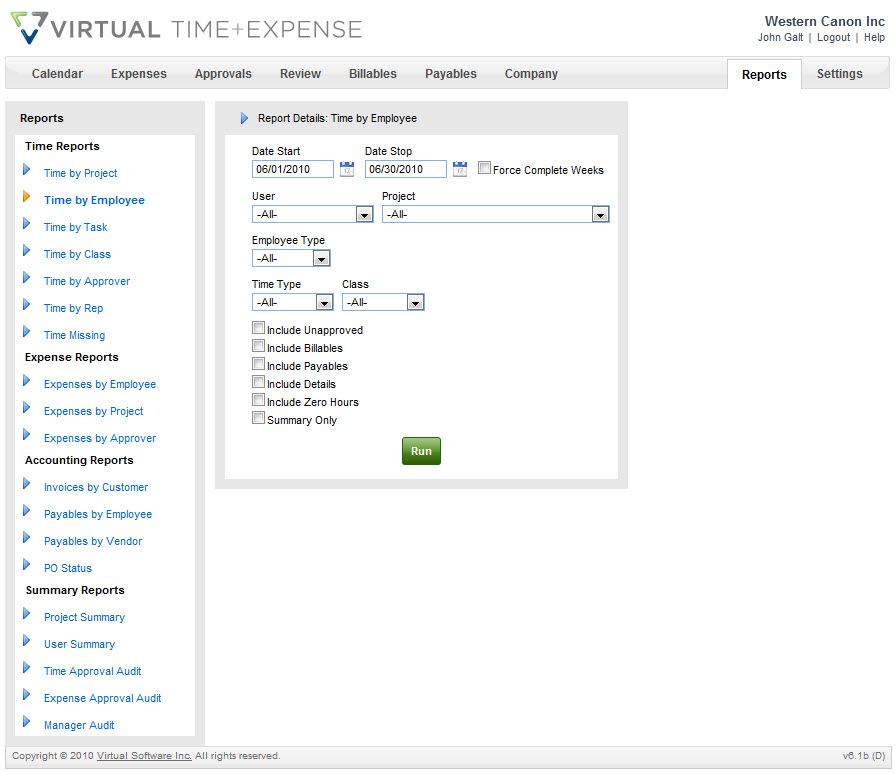
- Click on Reports in the
Navigation Bar.
This will show you the list of reports that you are allowed to run.
- To see your historical timecards, click on Time by Employee.
To see timecard details, check Include Details. You can click on
any timecard from this report to see the timecard view.
- To see your historical expense reports, click on Expenses by
Employee. To see expense details, check Include Details.
You can click on any expense report from this report to see the expense
report view.
|
|
|
Changing your password: To change your password, click on Settings in the area bar.
In the left column of function choices in the My Info section, click
on Change Password. |
|